

To save the recipe Sign in
oops, try later
Honey Cake
Details
Description
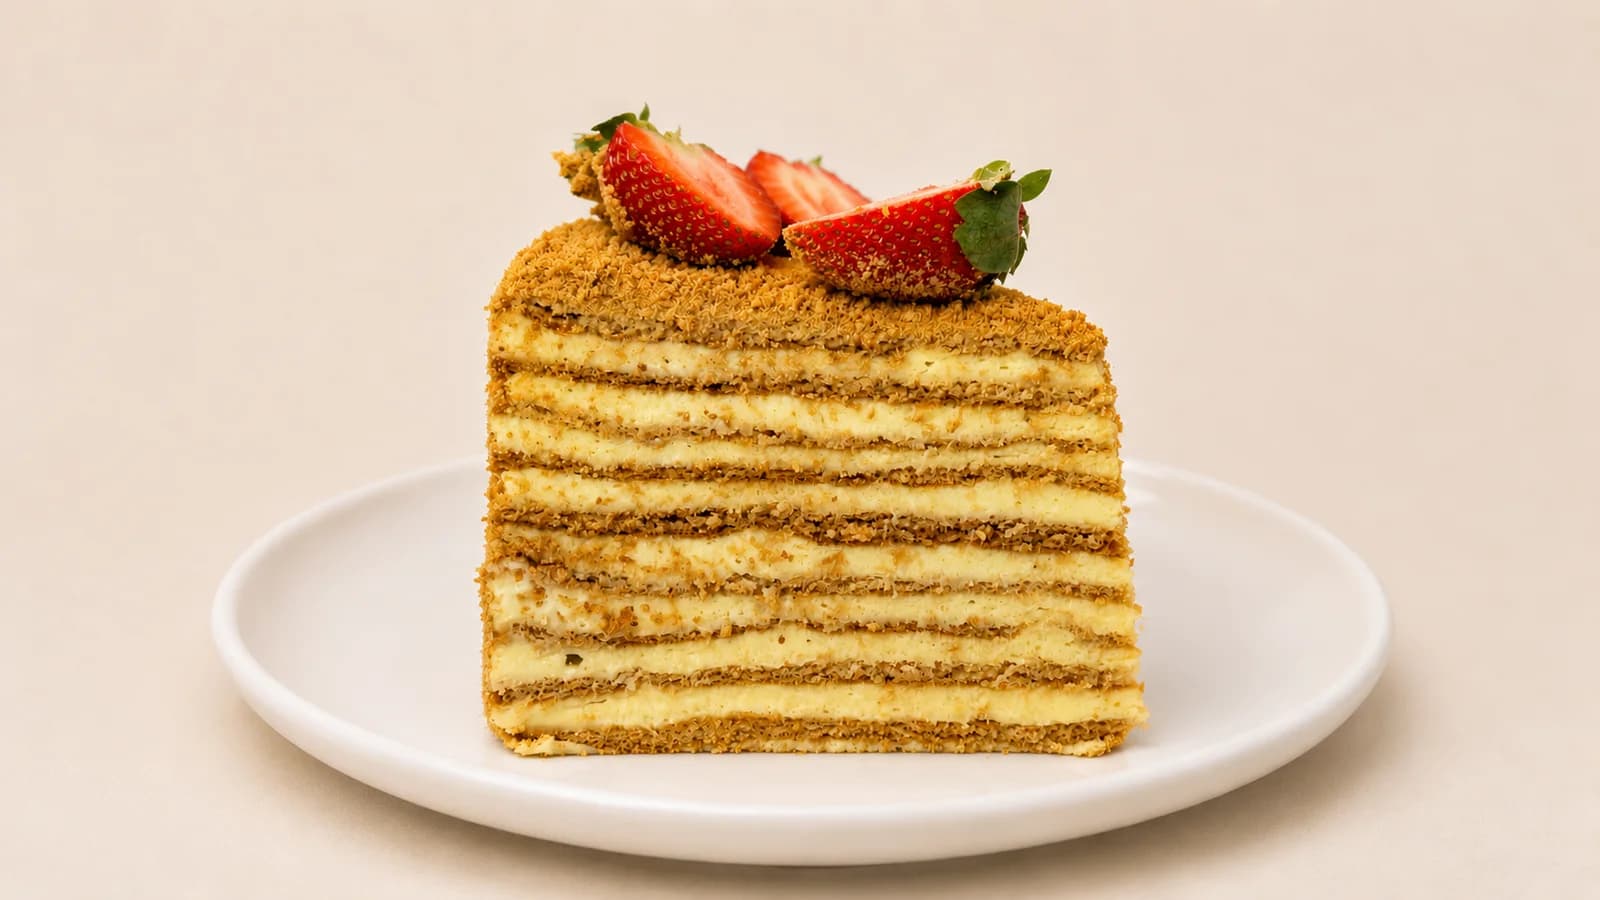
Here’s a recipe for a Medovik cake with “Plombir” cream and white chocolate, which I highly recommend you make and try. It’s a fantastically tender cake with rich honey layers and Plombir cream made with white chocolate.
Key Ingredients
Plombir Cream
7 itemsHoney cakes (9 pieces, 20 cm, or 10 pieces, 18 cm, plus leftover cake pieces for crumbs)
7 itemsPreparation Steps
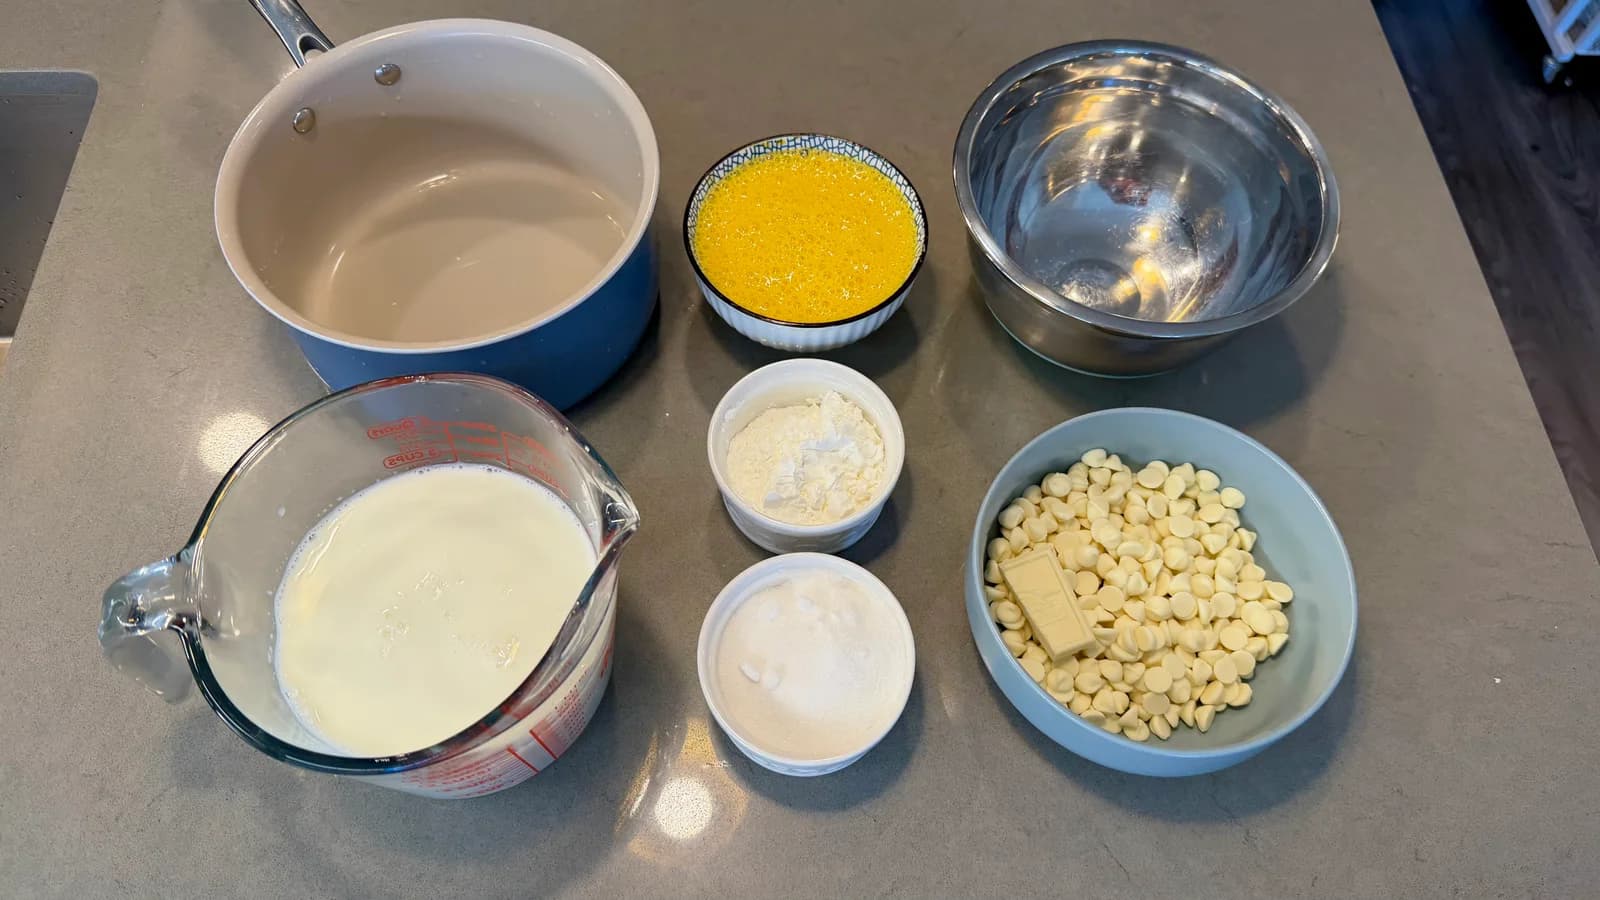
Let’s make Plombir cream with white chocolate You can also use this cream for your other desserts, but not for leveling cakes. This cream is perfect for Napoleon cake, éclairs, Choux pastries, or donuts Pour 600 g of milk into a saucepan and place it on the stove to heat, while in another bowl I mix 4 eggs with 100 g of sugar. I add vanilla extract (you can use vanilla powder instead), then add 50 g of cornstarch, and whisk everything until smooth Once the milk has heated up, I add a little of it to the egg mixture, mix well, and pour the egg mixture back into the hot milk I keep it on the stove, stirring constantly, until the first bubbles appear and the cream thickens. The heat shouldn’t be too high so your cream doesn’t burn.
Let’s make Plombir cream with white chocolate You can also use this cream for your other desserts, but not for leveling cakes. This cream is perfect for Napoleon cake, éclairs, Choux pastries, or donuts Pour 600 g of milk into a saucepan and place it on the stove to heat, while in another bowl I mix 4 eggs with 100 g of sugar. I add vanilla extract (you can use vanilla powder instead), then add 50 g of cornstarch, and whisk everything until smooth Once the milk has heated up, I add a little of it to the egg mixture, mix well, and pour the egg mixture back into the hot milk I keep it on the stove, stirring constantly, until the first bubbles appear and the cream thickens. The heat shouldn’t be too high so your cream doesn’t burn.
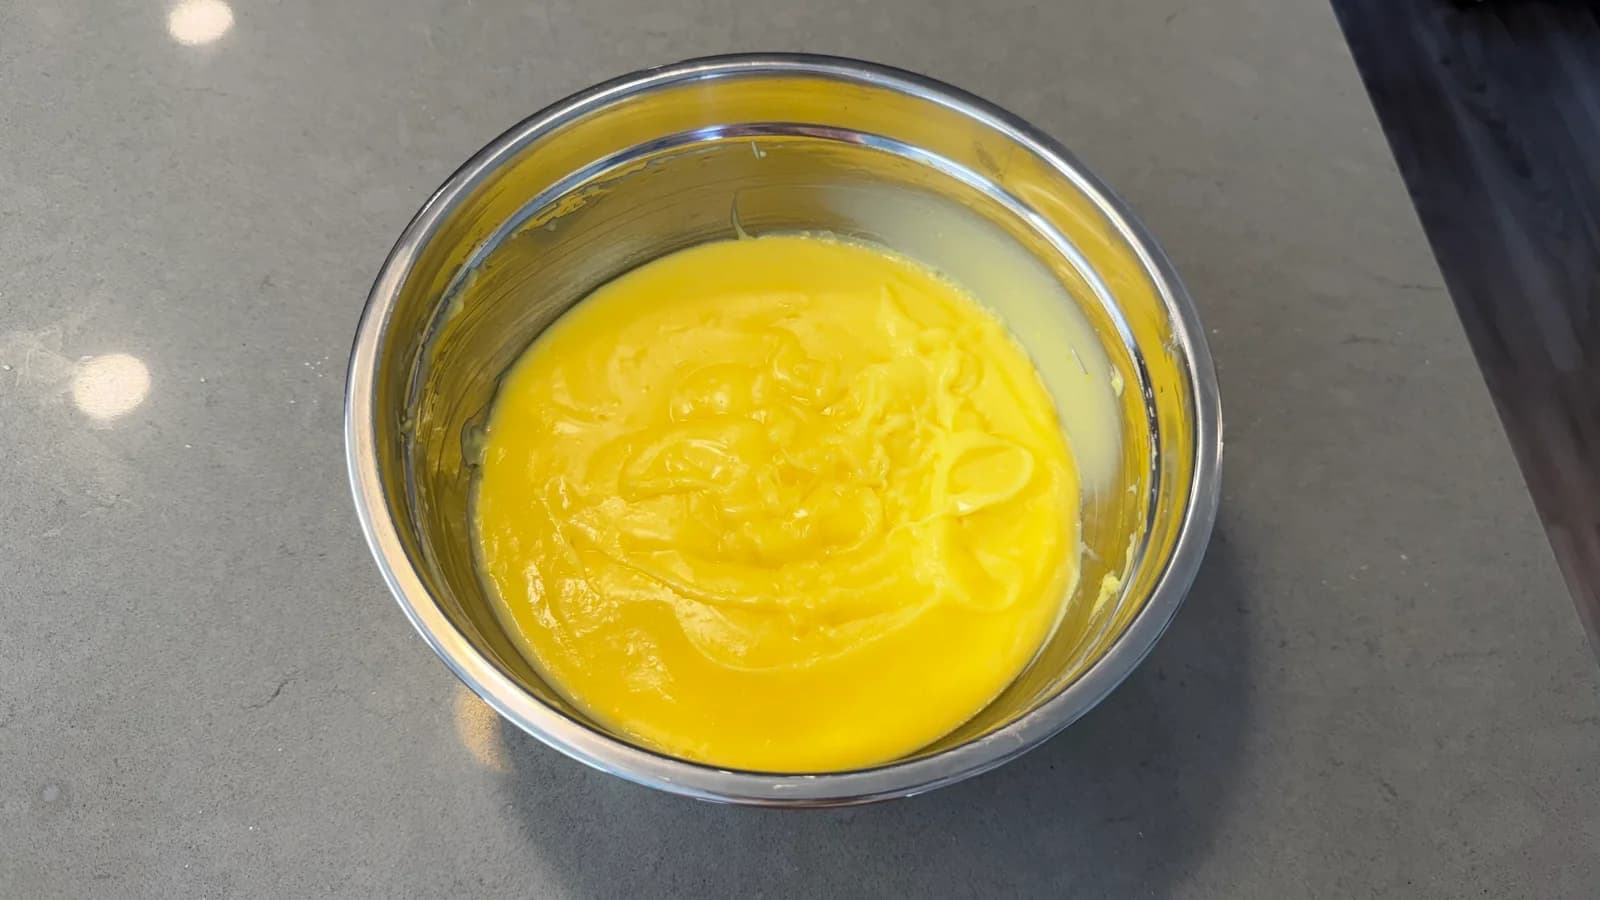
I remove the cooked cream from the heat and add the hot cream to 180 g of white chocolate. At this stage, you can add another 50g of butter to give your cream a more stable consistency, but this is optional—I add butter in this version Mix the cream with the chocolate using a spatula, or you can blend it for a few seconds with a powerful blender I cover the cream with plastic wrap, pressing it directly against the surface to prevent condensation, and leave it in the refrigerator overnight to set. Or for at least 6 hours in the refrigerator.
I remove the cooked cream from the heat and add the hot cream to 180 g of white chocolate. At this stage, you can add another 50g of butter to give your cream a more stable consistency, but this is optional—I add butter in this version Mix the cream with the chocolate using a spatula, or you can blend it for a few seconds with a powerful blender I cover the cream with plastic wrap, pressing it directly against the surface to prevent condensation, and leave it in the refrigerator overnight to set. Or for at least 6 hours in the refrigerator.
Once the custard base for the cream has stabilized, I start by whipping 300 g of cold heavy cream until it’s fluffy and forms soft peaks I add this heavy cream to the cooled, stabilized custard, which I’ve lightly whipped with a mixer—specifically a mixer, not an immersion blender. I combine the custard and cream with the mixer on the lowest speed until smooth.
Once the custard base for the cream has stabilized, I start by whipping 300 g of cold heavy cream until it’s fluffy and forms soft peaks I add this heavy cream to the cooled, stabilized custard, which I’ve lightly whipped with a mixer—specifically a mixer, not an immersion blender. I combine the custard and cream with the mixer on the lowest speed until smooth.
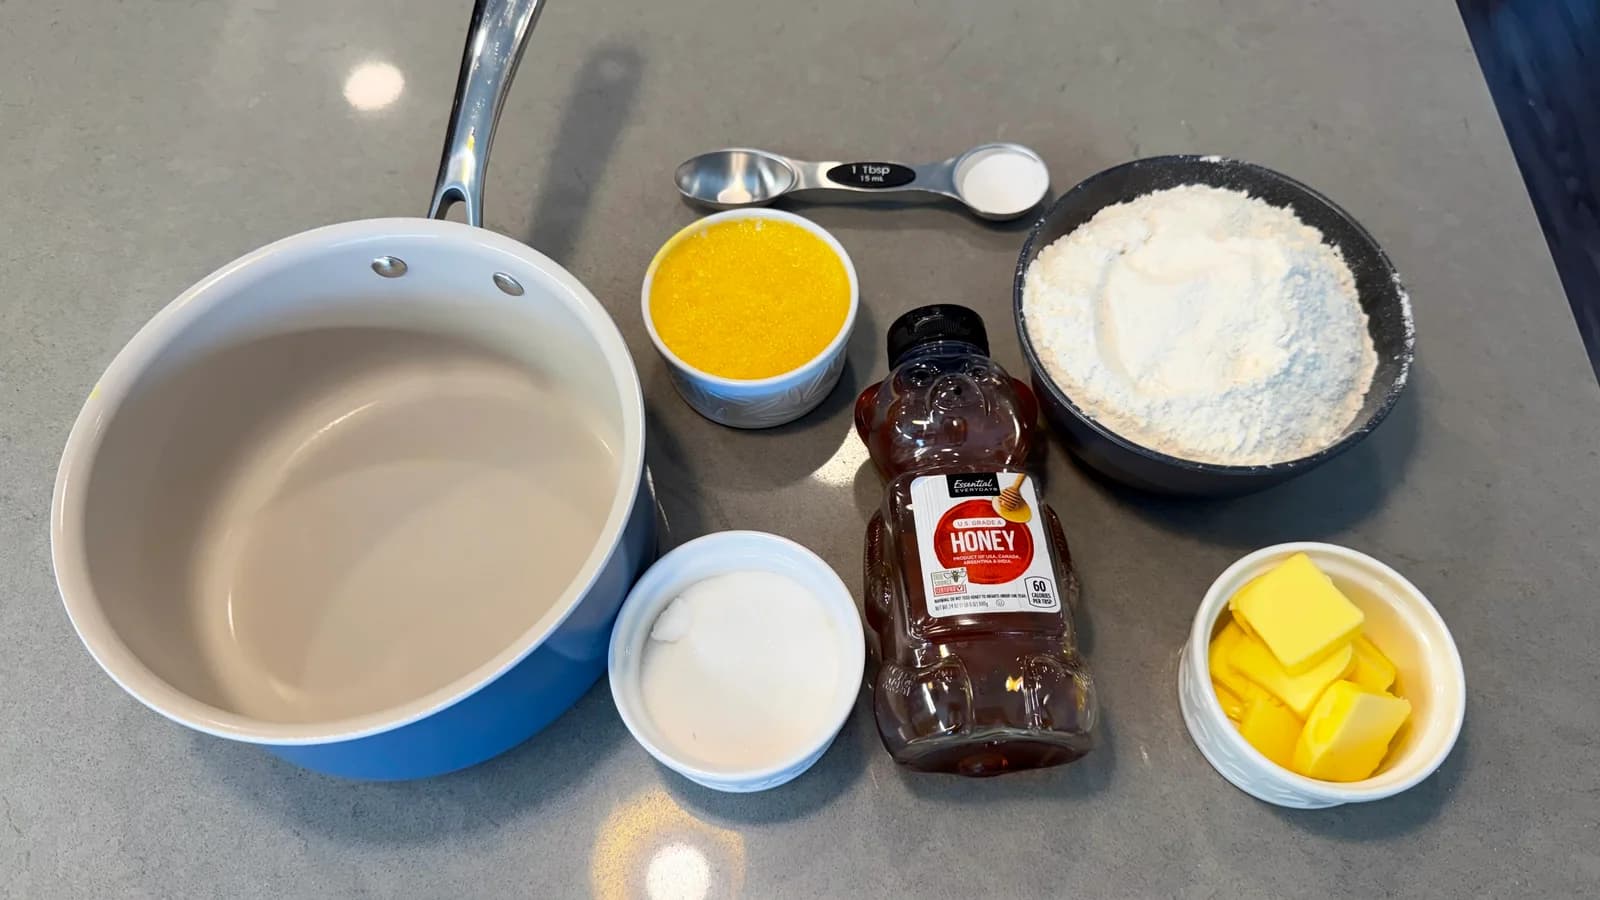
I'm making the cake layers for the Medovik cake. I pour 140 g of honey into a saucepan, add 60 g of sugar, 2 eggs, and 60 g of butter. I mix it with a whisk and place it on the stove over medium heat, stirring constantly. Once the butter has melted, I add baking soda—a little less than a teaspoon, which is 7–8 g. I stir it in with a whisk and keep it on the stove until a thick, fluffy, caramel-colored foam forms I cook it for about 4–5 minutes, stirring constantly, then remove it from the heat. I let the mixture cool slightly, then add the flour. I used 335 g of flour; if your dough turns out runny, use 350 g of flour I’ll roll out the dough while it’s still warm because it’s soft, and it’ll be very easy for me to roll it out as thinly as possible I roll out my dough on a silicone mat; you can do this on white parchment paper or any other parchment paper that you’re sure the dough won’t stick to and will peel off easily after baking.
I'm making the cake layers for the Medovik cake. I pour 140 g of honey into a saucepan, add 60 g of sugar, 2 eggs, and 60 g of butter. I mix it with a whisk and place it on the stove over medium heat, stirring constantly. Once the butter has melted, I add baking soda—a little less than a teaspoon, which is 7–8 g. I stir it in with a whisk and keep it on the stove until a thick, fluffy, caramel-colored foam forms I cook it for about 4–5 minutes, stirring constantly, then remove it from the heat. I let the mixture cool slightly, then add the flour. I used 335 g of flour; if your dough turns out runny, use 350 g of flour I’ll roll out the dough while it’s still warm because it’s soft, and it’ll be very easy for me to roll it out as thinly as possible I roll out my dough on a silicone mat; you can do this on white parchment paper or any other parchment paper that you’re sure the dough won’t stick to and will peel off easily after baking.
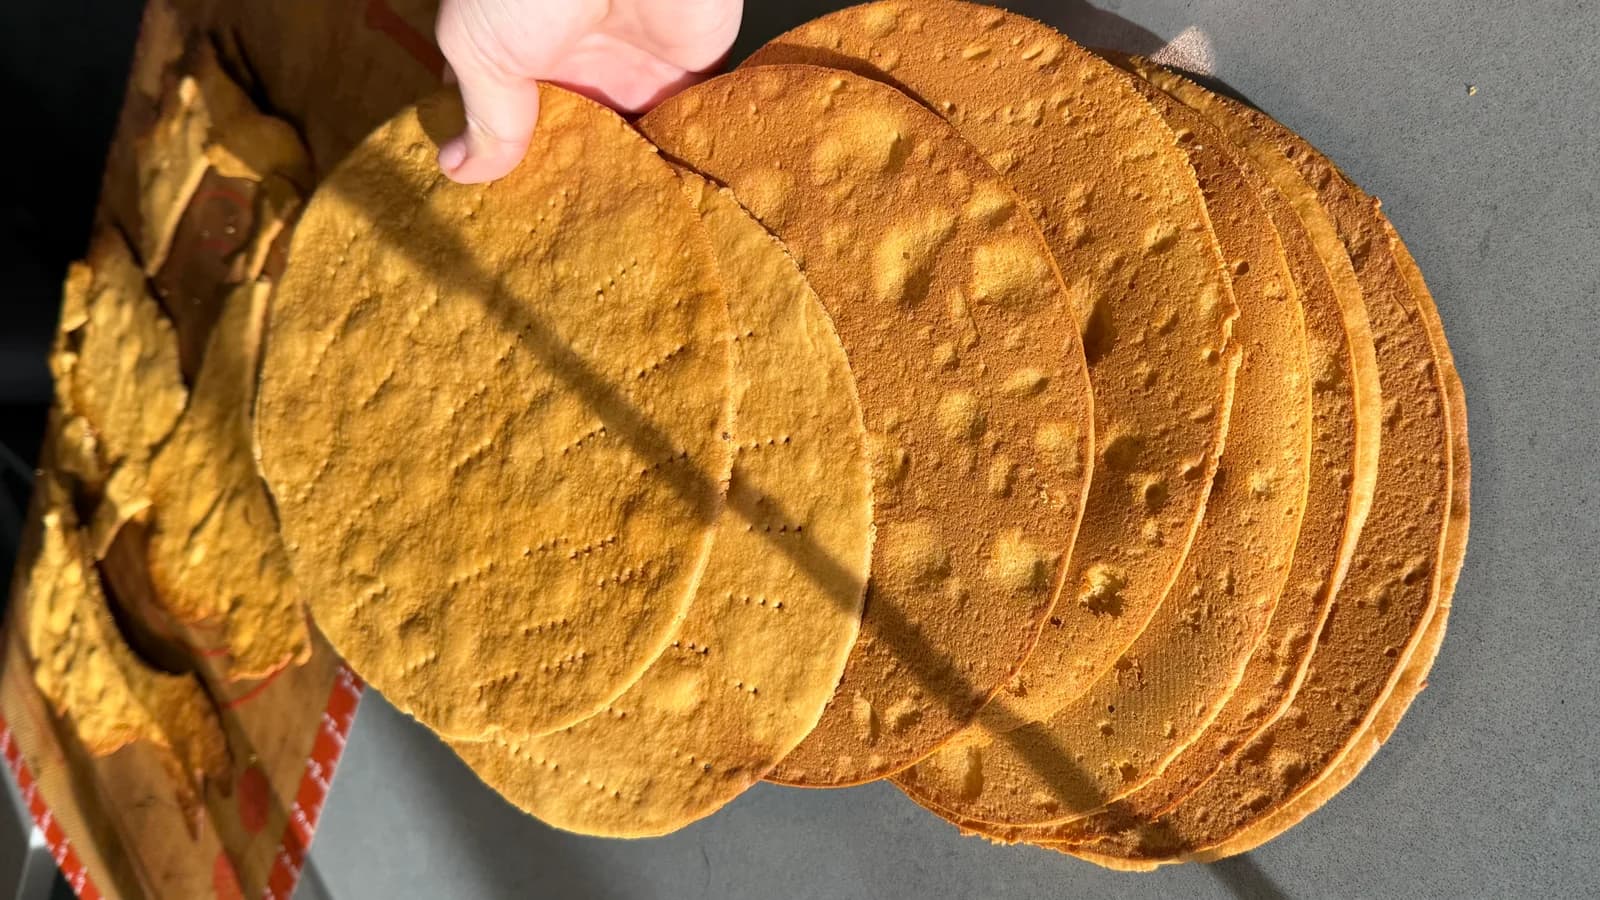
Before baking, I prick all the flatbreads with a fork. I have a large oven, so I can fit 4 flatbreads, each 20 centimeters in diameter, on a single baking mat; I roll out my dough on parchment paper I bake them in a preheated oven at 180° Celsius for 4–5 minutes. You have to keep a very close eye on them to make sure the crusts don’t burn. I bake using the setting where only the bottom of the oven heats up, because my oven doesn’t have a setting that heats both the top and bottom at the same time. The finished cake layers can be wrapped in plastic wrap and stored at room temperature for 1–3 days, or they can be frozen.
Before baking, I prick all the flatbreads with a fork. I have a large oven, so I can fit 4 flatbreads, each 20 centimeters in diameter, on a single baking mat; I roll out my dough on parchment paper I bake them in a preheated oven at 180° Celsius for 4–5 minutes. You have to keep a very close eye on them to make sure the crusts don’t burn. I bake using the setting where only the bottom of the oven heats up, because my oven doesn’t have a setting that heats both the top and bottom at the same time. The finished cake layers can be wrapped in plastic wrap and stored at room temperature for 1–3 days, or they can be frozen.
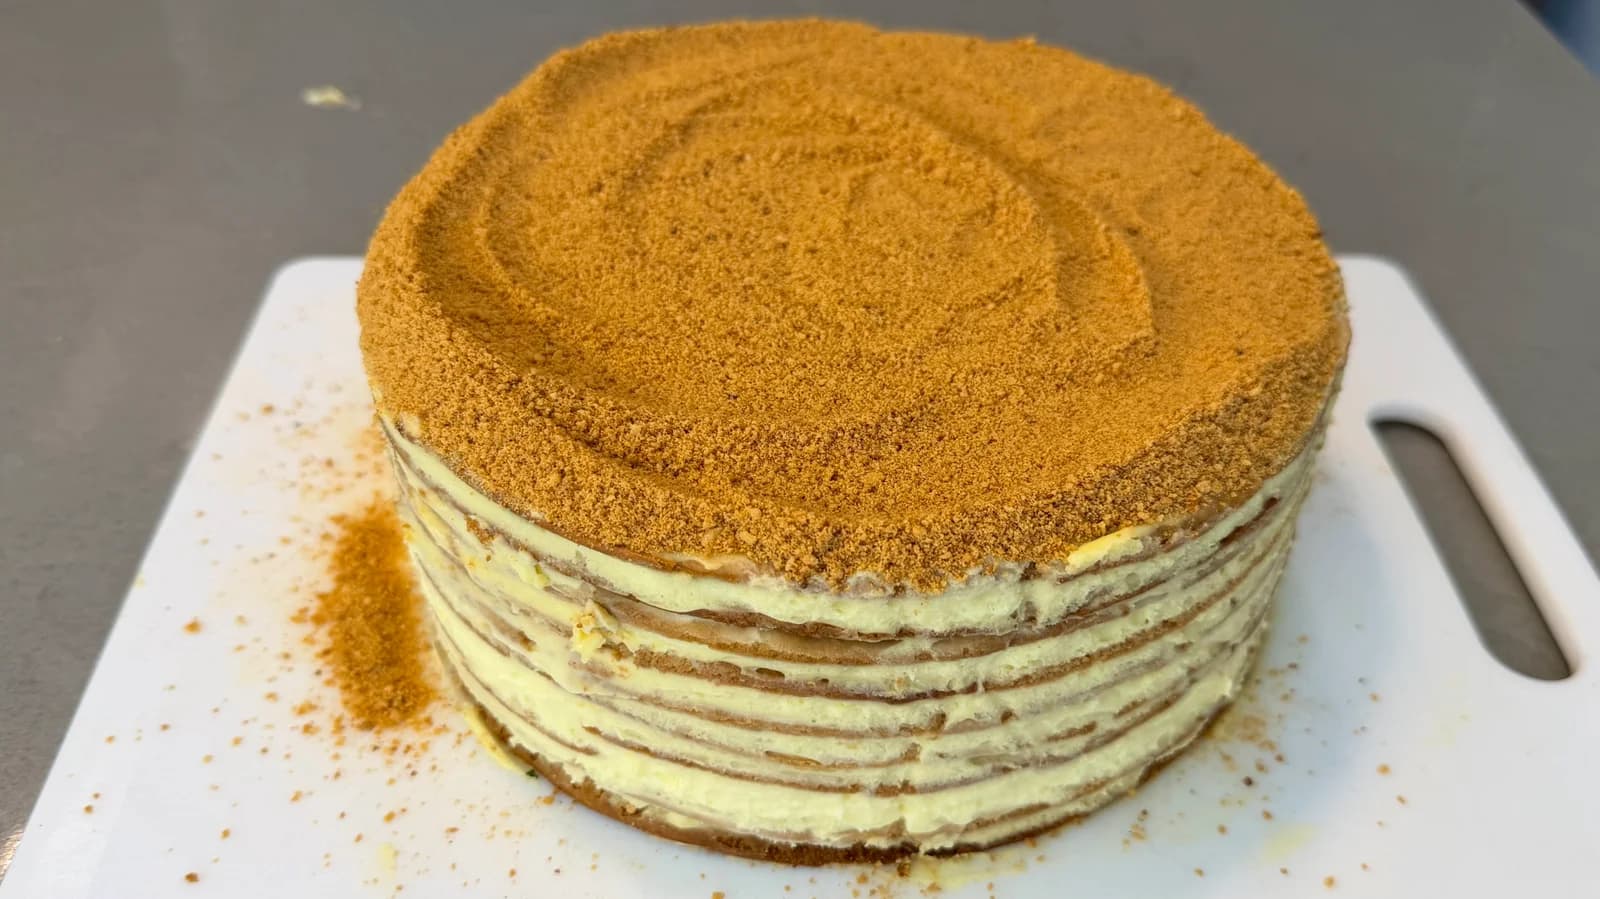
Assembling the cake Spread the frosting onto the prepared cake layers—be sure to use plenty of frosting so the cake turns out moist. To ensure an even amount of frosting on each layer, use a scale. If you’re making a 9-layer cake with 20-cm-diameter layers, use about 160 g of cream per layer I always assemble the cake in a ring lined with parchment paper to ensure it comes out even and to prevent the cream from leaking out. And with the leftover cake layers, I use a blender to make crumbs, which I use to decorate the cake the next day. Be sure to leave the cake in the refrigerator overnight to set; only then should you remove the ring and parchment paper, and if necessary, trim the cake with a pastry spatula Decorate the cake with the crumbs by pressing them against the sides with your hands and adding some to the top of the cake.
Assembling the cake Spread the frosting onto the prepared cake layers—be sure to use plenty of frosting so the cake turns out moist. To ensure an even amount of frosting on each layer, use a scale. If you’re making a 9-layer cake with 20-cm-diameter layers, use about 160 g of cream per layer I always assemble the cake in a ring lined with parchment paper to ensure it comes out even and to prevent the cream from leaking out. And with the leftover cake layers, I use a blender to make crumbs, which I use to decorate the cake the next day. Be sure to leave the cake in the refrigerator overnight to set; only then should you remove the ring and parchment paper, and if necessary, trim the cake with a pastry spatula Decorate the cake with the crumbs by pressing them against the sides with your hands and adding some to the top of the cake.
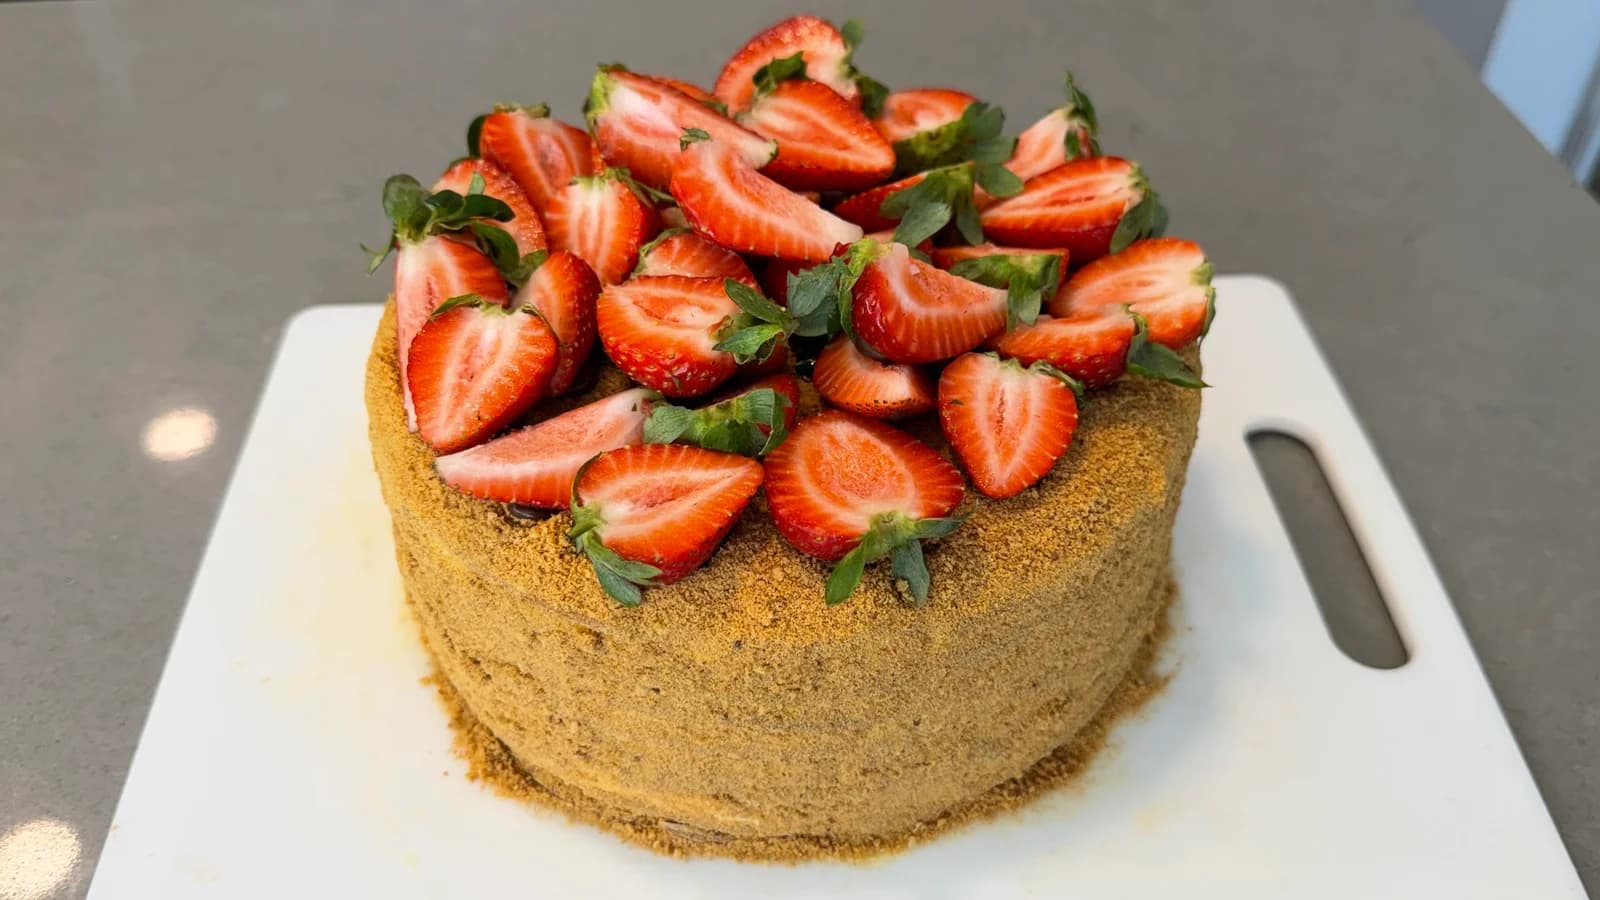
I love decorating cakes with fresh fruit Fresh strawberries and raspberries paired with honey cake layers and cream are absolutely delicious I attach each washed and dried strawberry to the cake using melted milk chocolate so it doesn’t fall off and stays in place Be sure to try making this Honey Cake You can either increase or decrease the amount of each ingredient in equal proportions to make a larger or smaller cake.
I love decorating cakes with fresh fruit Fresh strawberries and raspberries paired with honey cake layers and cream are absolutely delicious I attach each washed and dried strawberry to the cake using melted milk chocolate so it doesn’t fall off and stays in place Be sure to try making this Honey Cake You can either increase or decrease the amount of each ingredient in equal proportions to make a larger or smaller cake.