

To save the recipe Sign in
oops, try later
Strawberry-Pistachio Cake
Details
Description
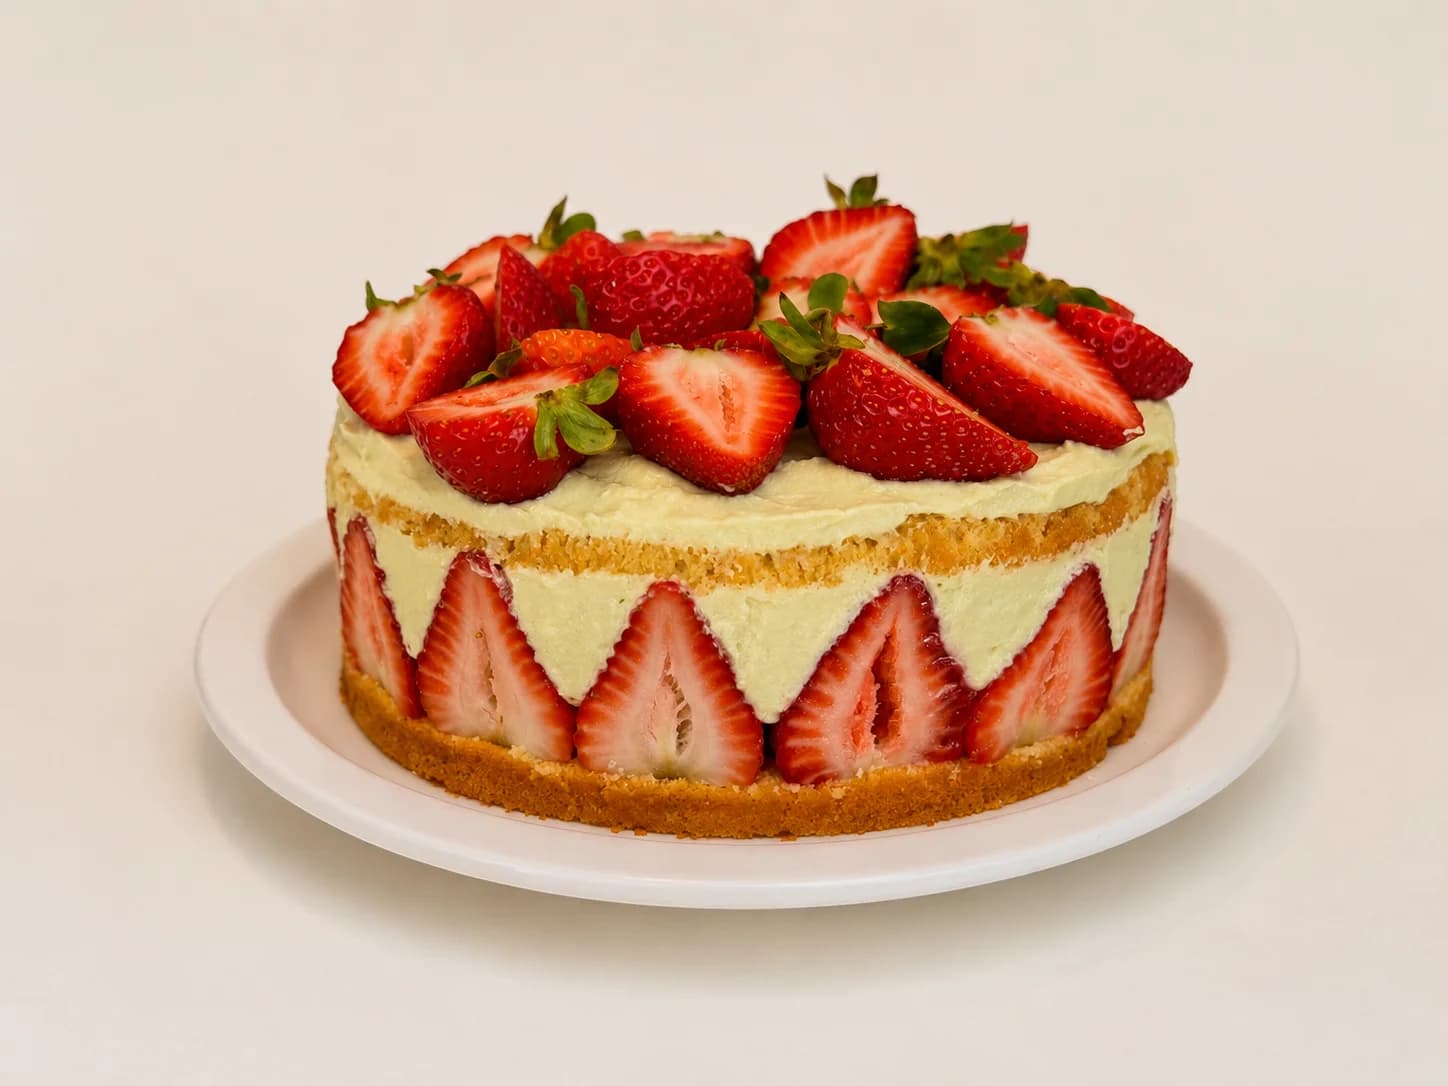
Cake with fresh strawberries, vanilla sponge cake, and pistachio cream
Key Ingredients
Pistachio Cream
7 itemsSponge Cake
4 itemsFor soaking the cake
2 itemsFilling
1 itemPreparation Steps
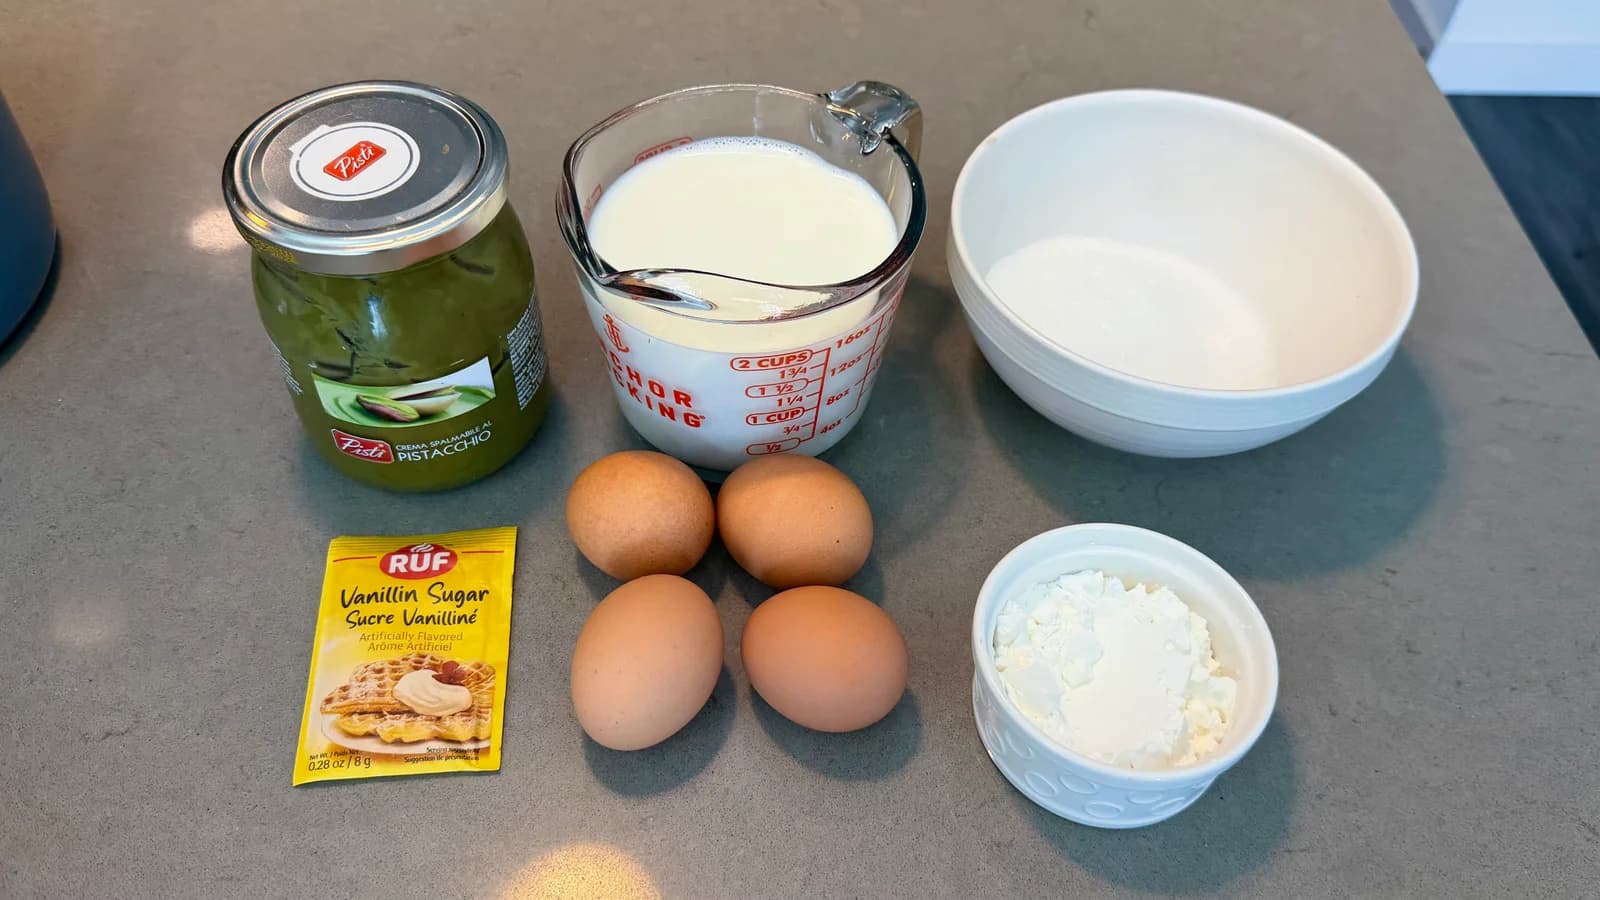
Let’s make pistachio cream. Pour 500g of milk into a saucepan and add a packet of vanilla sugar; you can also use vanilla extract or vanilla paste Place the milk on the stove to heat. In a separate bowl, combine 4 eggs, 40 g of cornstarch, and 130 g of sugar, and whisk until well combined. The milk is already heating on the stove Add a little warm milk to the bowl with the eggs, stir with a whisk, and now add the egg mixture with sugar and cornstarch to the hot milk Stirring constantly with a whisk, keep the cream over medium heat and wait until it thickens and the first bubbles appear on the surface Transfer the cream to another bowl, cover it with plastic wrap, pressing it directly against the surface to prevent condensation, and let it cool first at room temperature, then refrigerate for at least 6 hours, or overnight
Let’s make pistachio cream. Pour 500g of milk into a saucepan and add a packet of vanilla sugar; you can also use vanilla extract or vanilla paste Place the milk on the stove to heat. In a separate bowl, combine 4 eggs, 40 g of cornstarch, and 130 g of sugar, and whisk until well combined. The milk is already heating on the stove Add a little warm milk to the bowl with the eggs, stir with a whisk, and now add the egg mixture with sugar and cornstarch to the hot milk Stirring constantly with a whisk, keep the cream over medium heat and wait until it thickens and the first bubbles appear on the surface Transfer the cream to another bowl, cover it with plastic wrap, pressing it directly against the surface to prevent condensation, and let it cool first at room temperature, then refrigerate for at least 6 hours, or overnight
Add the pistachio paste and butter to the cream. After letting it set in the refrigerator, gently whip the firm, cold custard base with a mixer, add the pistachio paste, and mix everything together again with the mixer Place 200 g of delicious butter at room temperature in a separate bowl and beat with a mixer until it lightens slightly and becomes fluffy. Start adding the custard cream (which already contains the pistachio paste) to the butter 3–4 tablespoons at a time, and mix everything together with a mixer on low speed. This finished cream turns out very silky, smooth, and delicious. If you’re unsure about the stability of your cream, you can add gelatin to it. Take 5 g of gelatin, add 20 g of cold water, and let the gelatin bloom, then heat it in a double boiler or microwave without bringing it to a boil, carefully add the gelatin to your cream, and stir.
Add the pistachio paste and butter to the cream. After letting it set in the refrigerator, gently whip the firm, cold custard base with a mixer, add the pistachio paste, and mix everything together again with the mixer Place 200 g of delicious butter at room temperature in a separate bowl and beat with a mixer until it lightens slightly and becomes fluffy. Start adding the custard cream (which already contains the pistachio paste) to the butter 3–4 tablespoons at a time, and mix everything together with a mixer on low speed. This finished cream turns out very silky, smooth, and delicious. If you’re unsure about the stability of your cream, you can add gelatin to it. Take 5 g of gelatin, add 20 g of cold water, and let the gelatin bloom, then heat it in a double boiler or microwave without bringing it to a boil, carefully add the gelatin to your cream, and stir.
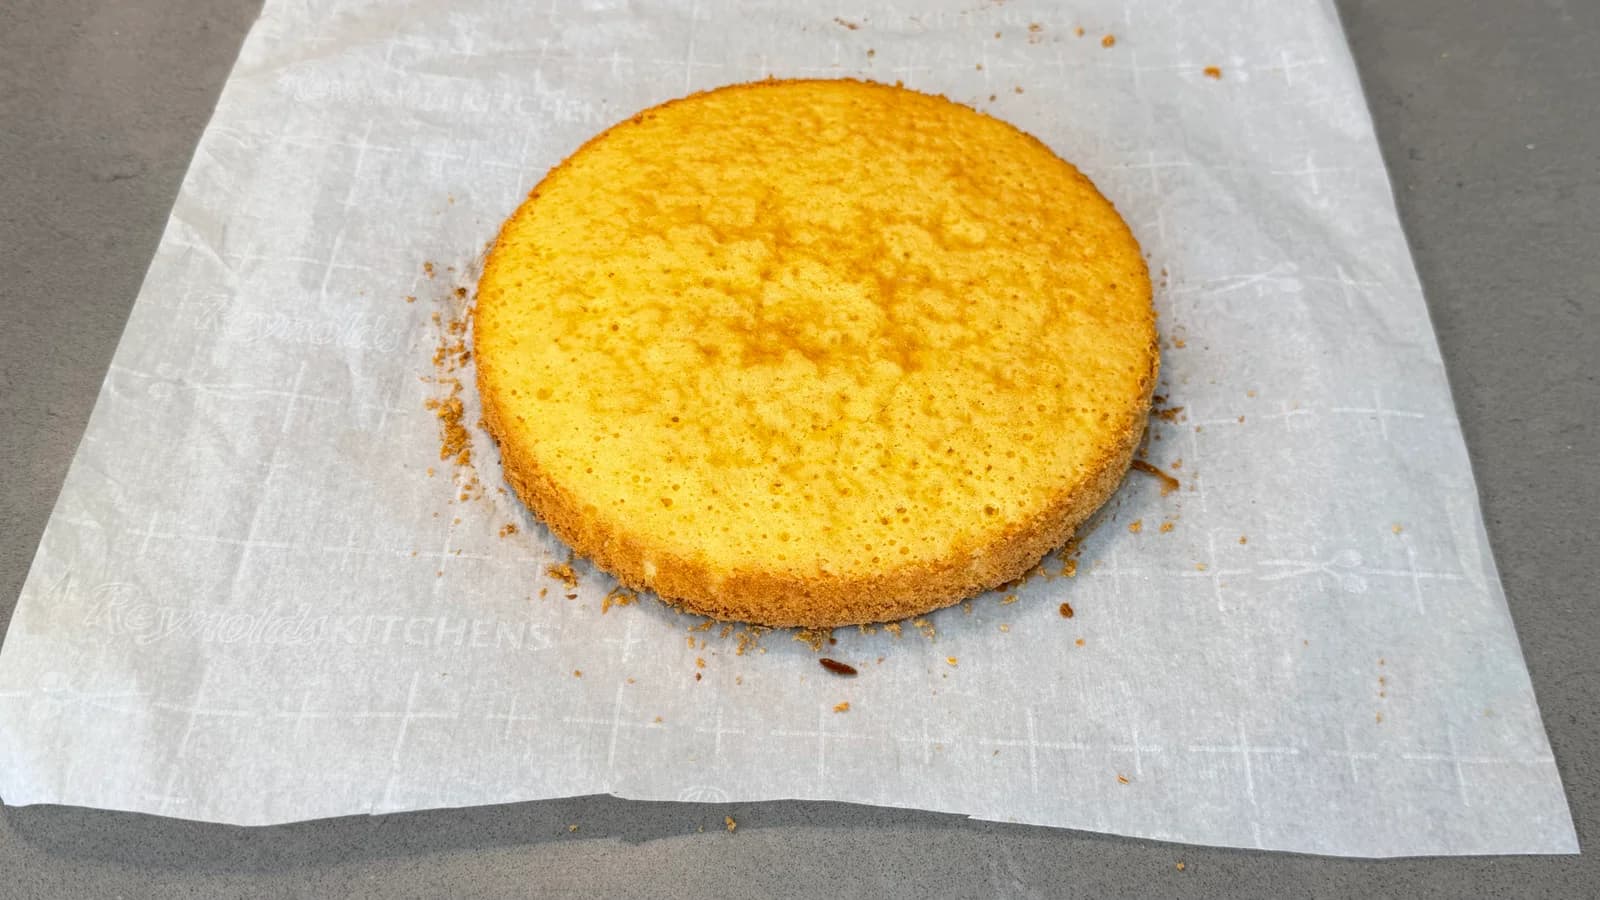
I'm making a vanilla sponge cake with 2 layers, each 22 cm in diameter. Crack 3 eggs into the mixer bowl, add 90 g of sugar and vanilla sugar. Beat the eggs on high speed for about 12 minutes until they form a fluffy, stable foam. While the eggs are being beaten, melt the butter in the microwave Add 90 g of sifted flour to the beaten eggs and sugar in 3 batches, and fold in with a silicone spatula using a bottom-up motion until smooth When the flour is almost fully incorporated, add a small portion of the batter to the butter, which should no longer be hot. Stir until smooth, then add to the main batter, mix well, and transfer to a ring mold. Bake in a preheated oven at 180° Celsius for 20 minutes. Wrap the finished sponge cake in plastic wrap and let it set overnight in the refrigerator or for 6 hours, just like the cream.
I'm making a vanilla sponge cake with 2 layers, each 22 cm in diameter. Crack 3 eggs into the mixer bowl, add 90 g of sugar and vanilla sugar. Beat the eggs on high speed for about 12 minutes until they form a fluffy, stable foam. While the eggs are being beaten, melt the butter in the microwave Add 90 g of sifted flour to the beaten eggs and sugar in 3 batches, and fold in with a silicone spatula using a bottom-up motion until smooth When the flour is almost fully incorporated, add a small portion of the batter to the butter, which should no longer be hot. Stir until smooth, then add to the main batter, mix well, and transfer to a ring mold. Bake in a preheated oven at 180° Celsius for 20 minutes. Wrap the finished sponge cake in plastic wrap and let it set overnight in the refrigerator or for 6 hours, just like the cream.
Once all the ingredients have set, I start assembling the cake. I take the sponge cake out of the refrigerator and cut it into 2 pieces. I wash the fresh strawberries. I’ll assemble the cake in a ring mold; I place the sponge cake on the bottom of the ring and be sure to soak it so the cake is moist and tender. For soaking, I use 30 g of condensed white milk and 60 g of water. I always line the ring with parchment paper; you can also use plastic wrap. You don’t have to remove the wrap afterward—you can leave the cake in it, and it will look neater I arrange the strawberries cut-side out around the entire diameter of the ring, spread almost all of the cream on top, and add more fresh strawberries inside. I soak the second sponge layer and place it on top of the cake, spread a little cream on it, and cover it with plastic wrap, making sure it’s in direct contact with the cake. Then I let it set overnight in the refrigerator
Once all the ingredients have set, I start assembling the cake. I take the sponge cake out of the refrigerator and cut it into 2 pieces. I wash the fresh strawberries. I’ll assemble the cake in a ring mold; I place the sponge cake on the bottom of the ring and be sure to soak it so the cake is moist and tender. For soaking, I use 30 g of condensed white milk and 60 g of water. I always line the ring with parchment paper; you can also use plastic wrap. You don’t have to remove the wrap afterward—you can leave the cake in it, and it will look neater I arrange the strawberries cut-side out around the entire diameter of the ring, spread almost all of the cream on top, and add more fresh strawberries inside. I soak the second sponge layer and place it on top of the cake, spread a little cream on it, and cover it with plastic wrap, making sure it’s in direct contact with the cake. Then I let it set overnight in the refrigerator
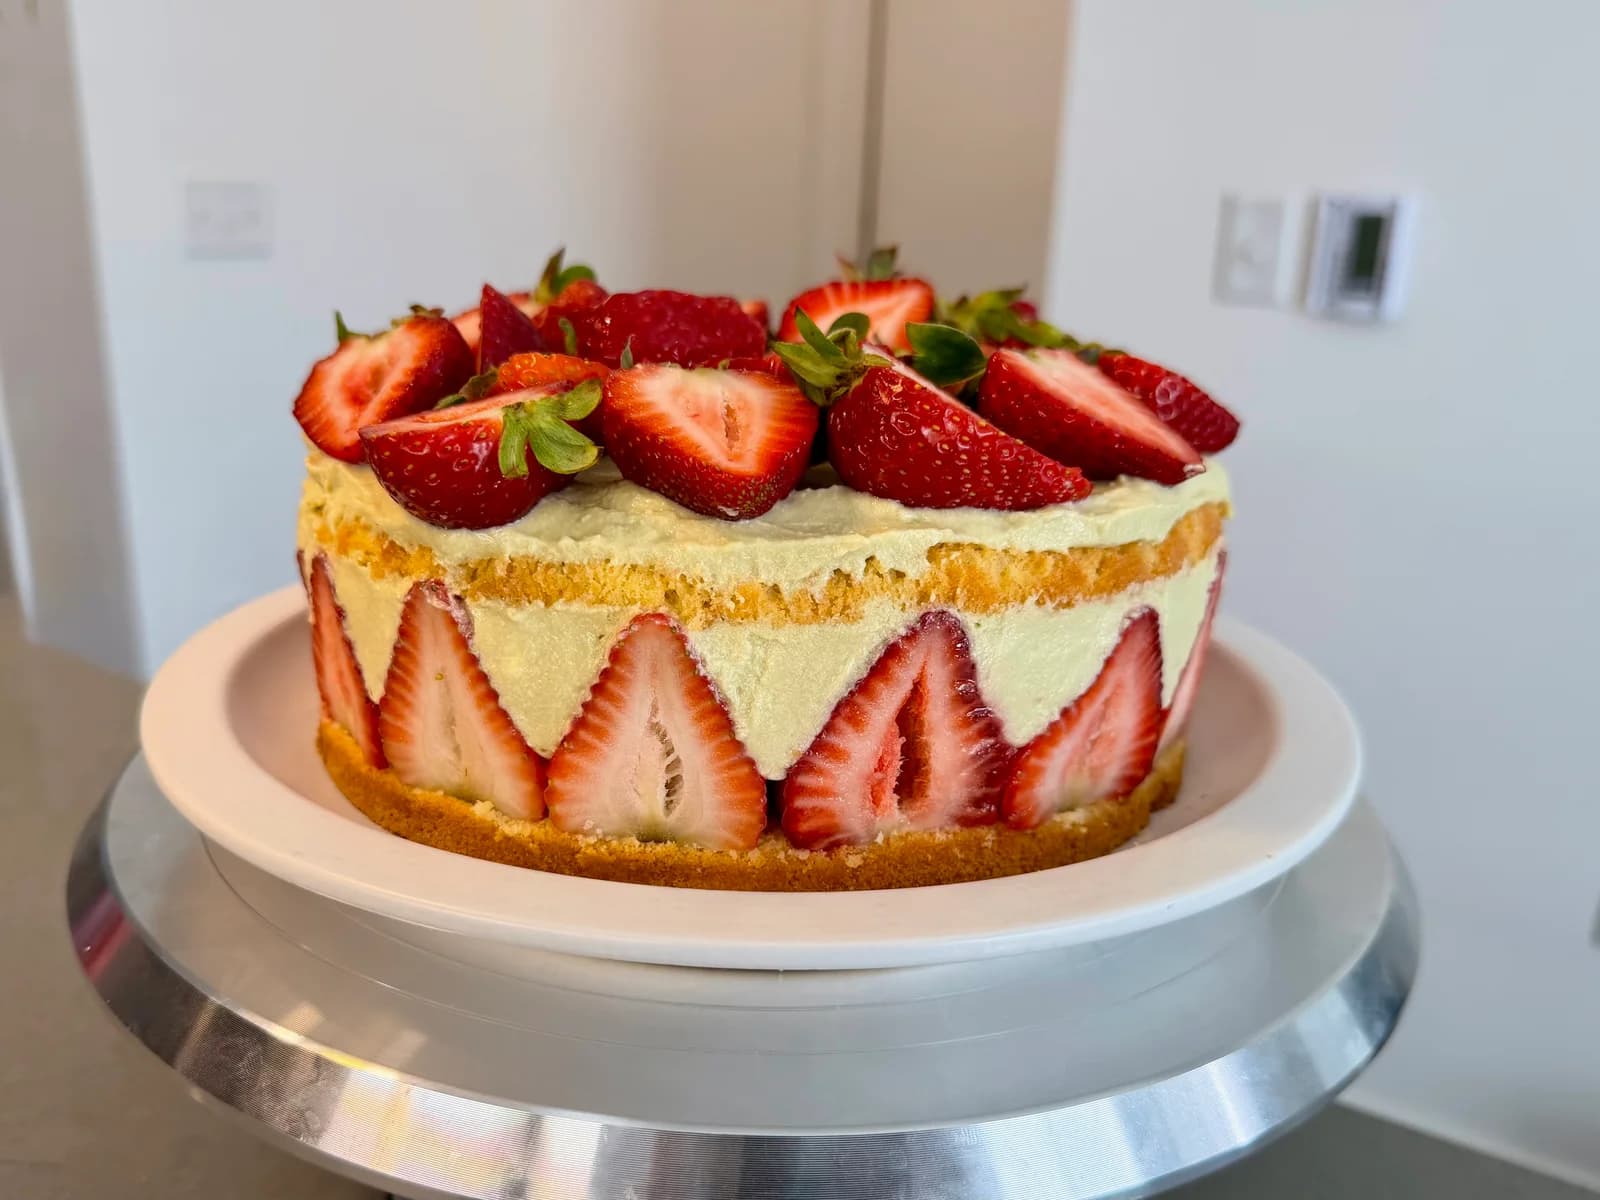
Once the cake has set, I remove the ring and parchment paper from my cake; if you used acetate film, you can leave it on. I decorate the cake with fresh strawberries, and it turns out to be a truly delicious, delicate summer cake.
Once the cake has set, I remove the ring and parchment paper from my cake; if you used acetate film, you can leave it on. I decorate the cake with fresh strawberries, and it turns out to be a truly delicious, delicate summer cake.